Trim Board Mounting Services Overview
Visitors will learn how local contractors handle Trim Board mounting projects and how to compare service options in their area.
- - Residential property owners seeking professional trim board mounting services for their homes.
- - Commercial building managers needing reliable local contractors for exterior trim installation.
- - Home improvement enthusiasts looking to compare local service providers for trim board projects.

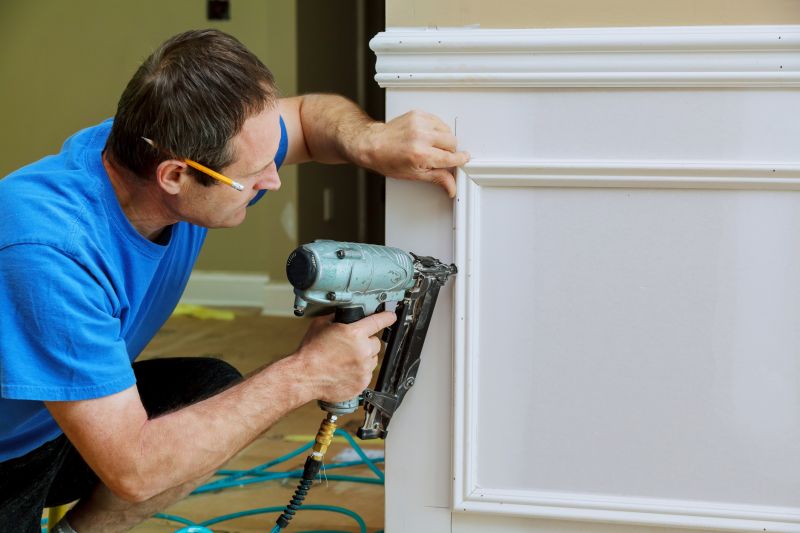

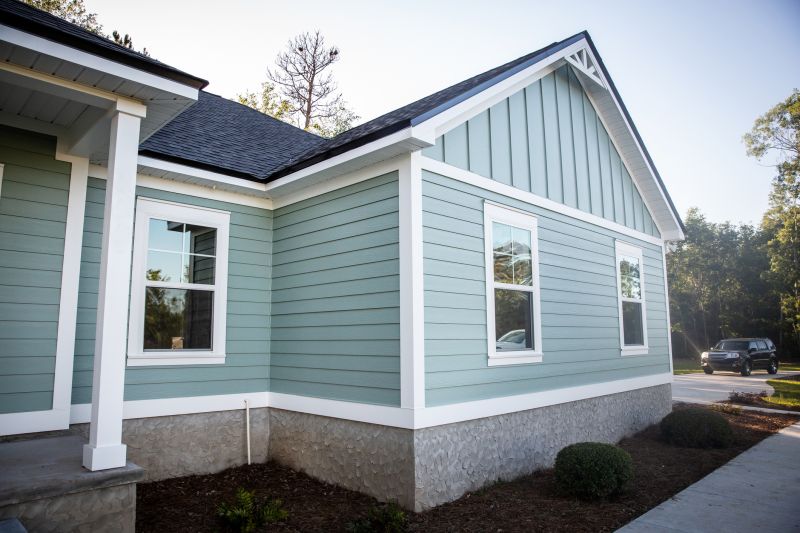
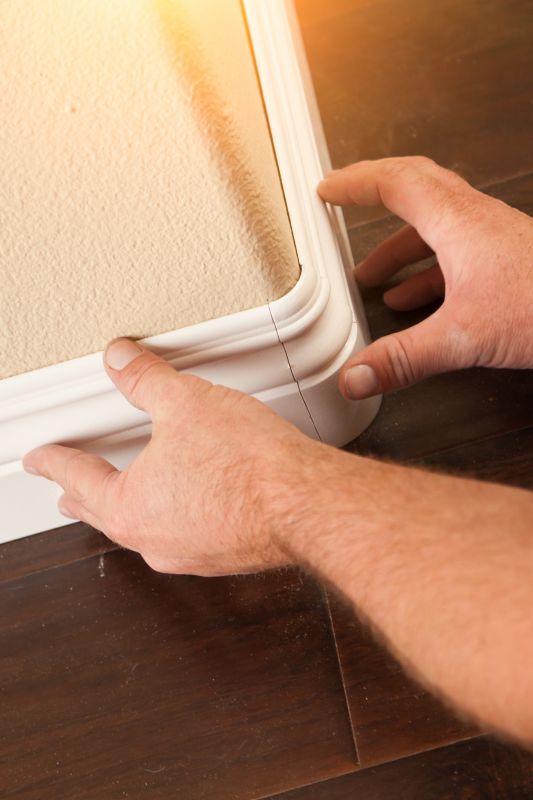
Trim board mounting services involve securely attaching trim boards to the exterior or interior of a property to enhance its appearance and protect structural elements. Property owners often seek out local contractors who specialize in this work to ensure proper installation, especially when dealing with various building materials, styles, and architectural details. These professionals typically handle tasks such as measuring, cutting, and fastening trim boards, ensuring a clean and durable finish that complements the overall design of the property.
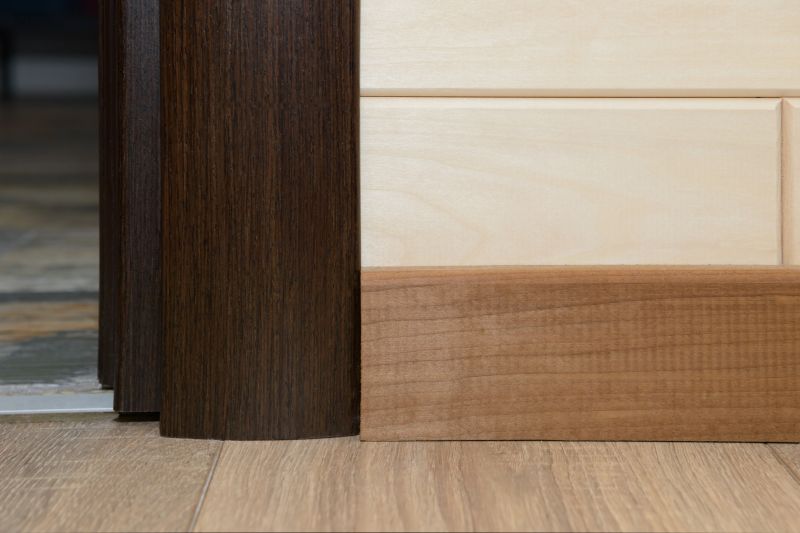
Local service providers in this category are experienced in working with different types of trim materials, including wood, composite, and PVC options. They understand the importance of precise installation to prevent issues like warping, cracking, or water infiltration. Property owners can expect these contractors to assess their specific needs, recommend suitable materials, and execute the work with attention to detail. Connecting with nearby pros can help ensure the job is completed efficiently and to the property's aesthetic and functional requirements.
This guide provides helpful information to understand the basics of Trim Board Mounting services and what to consider when planning a project. It assists in comparing local contractors and understanding the key factors involved in choosing the right service provider. Use this information to better prepare for discussions with local service providers and make informed decisions about your project.